Overview
The QQube Configuration Tool Wizard is designed for first-time users. It appears only when the QQube database is empty and no QuickBooks company files have been added.
Existing QQube users should use the standard QQube Configuration Tool instead.
Open the Configuration Tool Wizard
Open the QQube Configuration Tool. The wizard starts automatically when the database is empty and no company files are loaded.

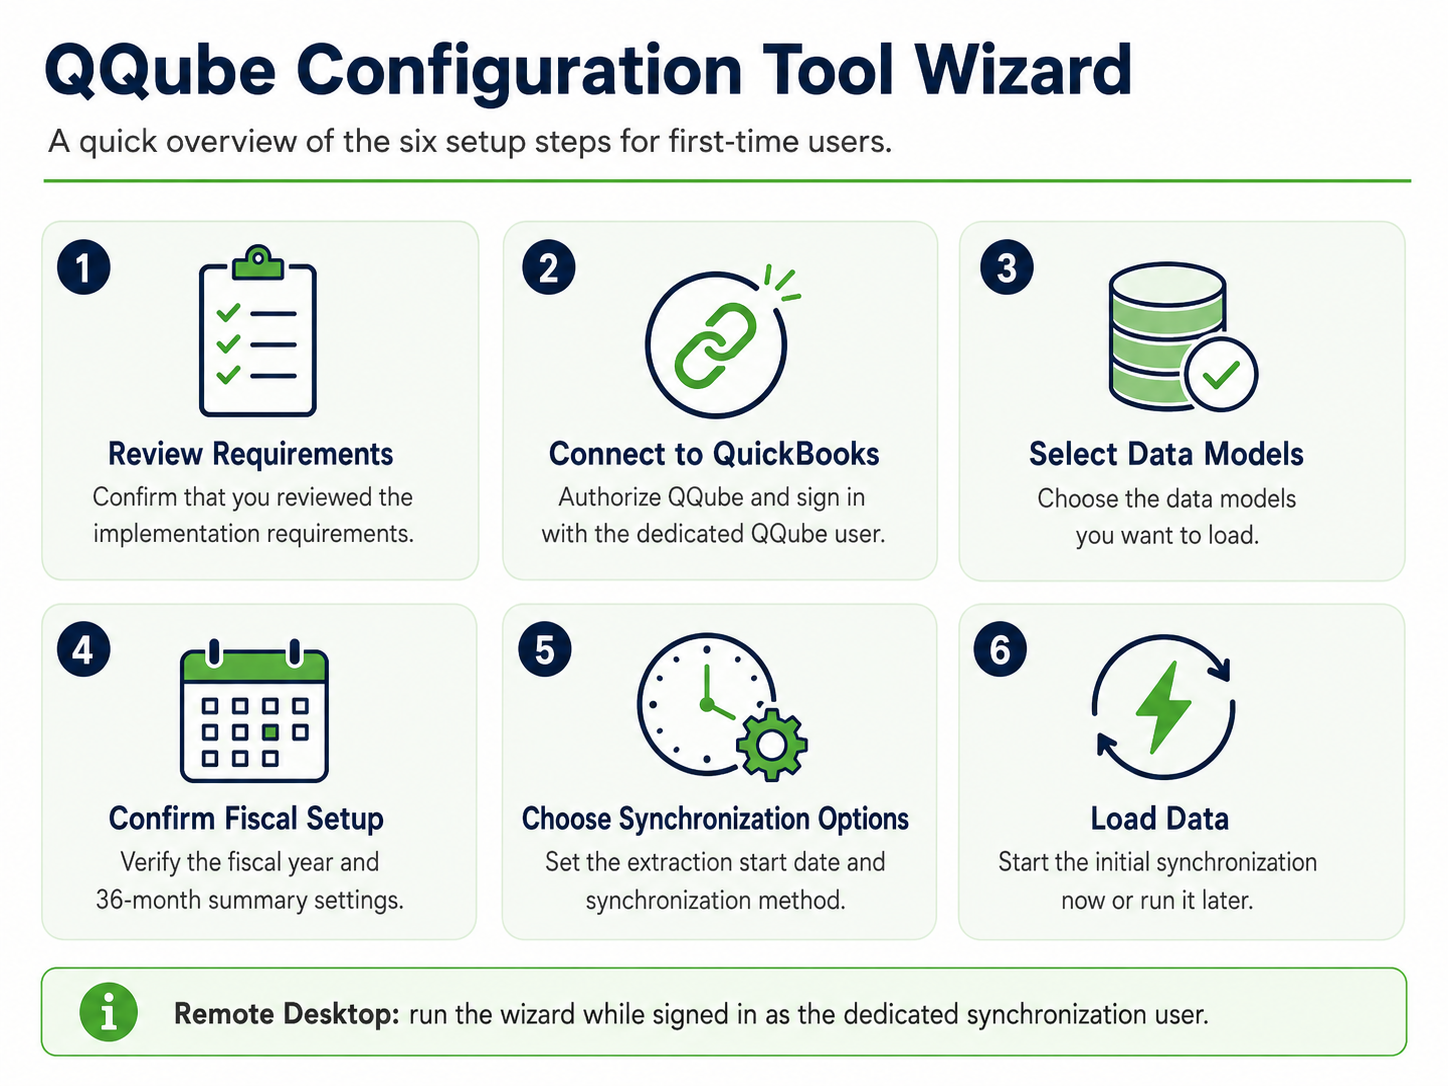
Step 1: Review the implementation requirements
Before continuing, confirm that you have completed the QQube implementation requirements. Skipping those requirements can cause synchronization errors or inaccurate results.
Confirm that the requirements were reviewed
Select the confirmation option before continuing.

Step 2: Connect QQube to QuickBooks
Use the dedicated QuickBooks and Intuit accounts created for QQube. Review Create Connection Users before starting this step.
Start the QuickBooks connection
Enter the connection information and continue.

Before authorizing QQube
- Only one instance of QuickBooks can be running.
- Do not open QuickBooks with Run as administrator.
- If the QuickBooks shortcut shows a shield, remove the administrator setting from its properties.
Authorize the QQube connection
QuickBooks displays several authorization windows. Complete them in the order shown below.
1. Accept the connection request
Select OK when QuickBooks displays the request.

2. Allow access when QuickBooks is closed
Select Yes, always; allow access even if QuickBooks is not running.

3. Confirm the authorization
Select Yes when QuickBooks asks for confirmation.

4. Select the QQube user
Choose the dedicated QuickBooks user created for QQube.

5. Confirm access
Approve the final QuickBooks access confirmation.

6. Enter the Enterprise reporting password
QuickBooks Enterprise users must enter the Custom Reporting User password.

QuickBooks Enterprise
The password requested in the final window is for the Custom Reporting User, not the regular QuickBooks user.
Steps 3 and 4: Select models and confirm the fiscal year
Step 3: Select data models
Choose the recommended starting models. You can add or remove models later.

Step 4: Confirm the fiscal-year range
Set the three-year range used by 36-month financial summary models.

The three-year range applies only to models that use 36 monthly periods, such as Balance Sheet, Profit and Loss, and Statement of Cash Flows.
Steps 5 and 6: Choose synchronization settings and load data
Step 5: Choose extraction settings
Set an optional start date and choose scheduled or manual synchronization.

Step 6: Start or defer the initial load
Choose whether to synchronize immediately or finish the setup without loading data.

Choosing when to load data
- Multi-User installation: You can normally start the synchronization immediately.
- Single-User installation: Consider using the Manual Refresh option later because scheduled synchronization requires additional care.
Leaving the extraction start date blank loads all available data from the QuickBooks file. Setting a start date can reduce the initial load for very large company files.
Review how the QQube synchronization process works
Monitor the initial synchronization
Select Finish to begin an immediate synchronization. Use the QQube Synchronizer activity window to monitor progress.
Synchronization in progress
The activity log displays each extraction task as it runs.

Synchronization complete
The final status should show QQube - Ready to Use.

The QQube Synchronizer lightning-bolt icon in the Windows notification area also indicates synchronization activity.
When the log shows an error
An error usually points to one of these areas:
- Incomplete implementation. Review Overview of QQube Implementation.
- Incorrect synchronization practices. Review How the Synchronization Process Works.
- QuickBooks data corruption. Follow the applicable QuickBooks file-integrity guidance.

Prepare QuickBooks for future scheduled synchronizations
Important
After the initial synchronization, leave QuickBooks open with no company file selected before scheduled synchronizations begin. QQube cannot close a company file that a user opened manually.

On a single-user local workstation, QQube can also synchronize while a QuickBooks company file is open. In that case, extraction is limited by the permissions of the person currently signed in to QuickBooks.
Was this article helpful?
That’s Great!
Thank you for your feedback
Sorry! We couldn't be helpful
Thank you for your feedback
Feedback sent
We appreciate your effort and will try to fix the article